Anytime Clock: Anytime ✕ Nixie
Last year, I set out to build my own Nixie tube clock and integrate it with Anytime, my app that keeps track of local time for contacts. Anytime comprises an app and web service with an HTTP API, and I intend to make use of this to allow me to produce a physical clock which can display the time for a contact.
In the process of building the clock, my Nixie tube supplier disappeared from the internet, so I turned instead to the Exixe control boards by dekuNukem.
This post details the process of creating my custom clock, making use of off-the-shelf components where possible:
- Introducing the Exixe
- Testing the Nixie tubes
- Prototyping with the Raspberry Pi
- Selecting a microcontroller
- Integrating with Anytime
- Designing the PCB
- Assembling the clock
- Next steps
Introducing the Exixe
The Exixe are small, inexpensive, microcontrollers boards, each designed to host a single Nixie tube. They talk Serial Peripheral Interface Bus (SPI), and have standard 0.1" headers. Along with a Nixie tube, they constitute a replaceable, socketed component:
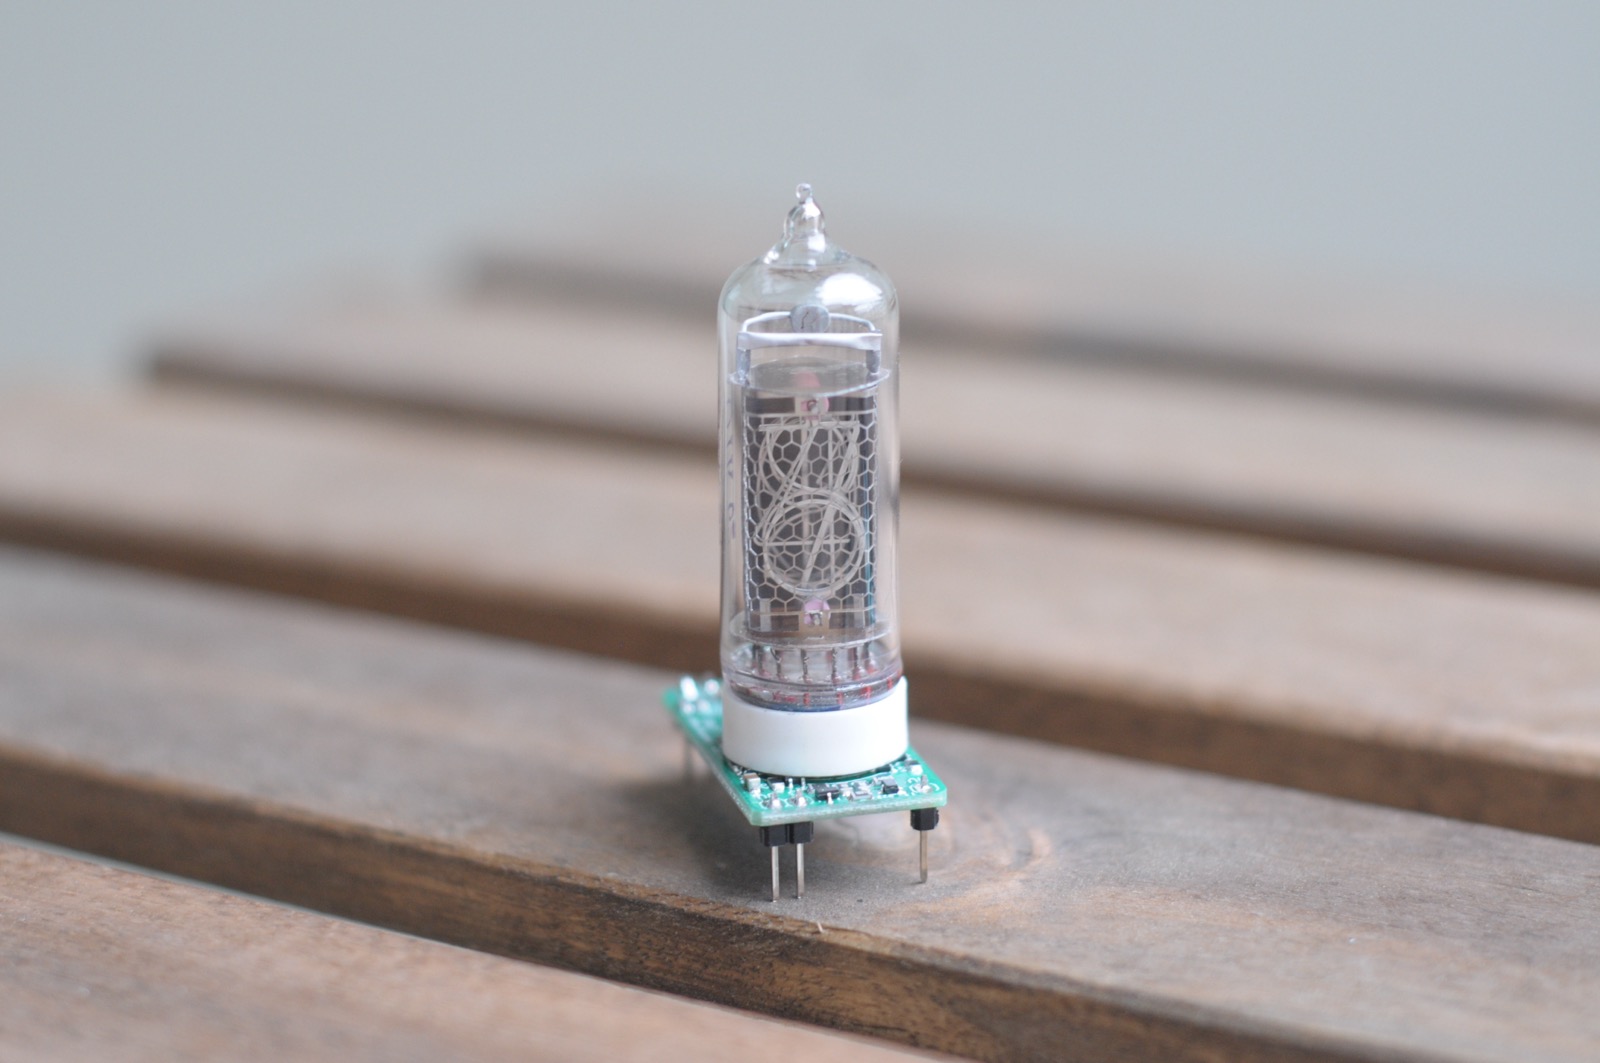
Exixe, complete with IN-12 Nixie tube
The Exixe boards and Nixie tubes can be powered using a dedicated 5V to 170V Nixie tube power supply making the overall circuitry much simpler (and safer) for someone inexperienced like myself.
Testing the Nixie Tubes
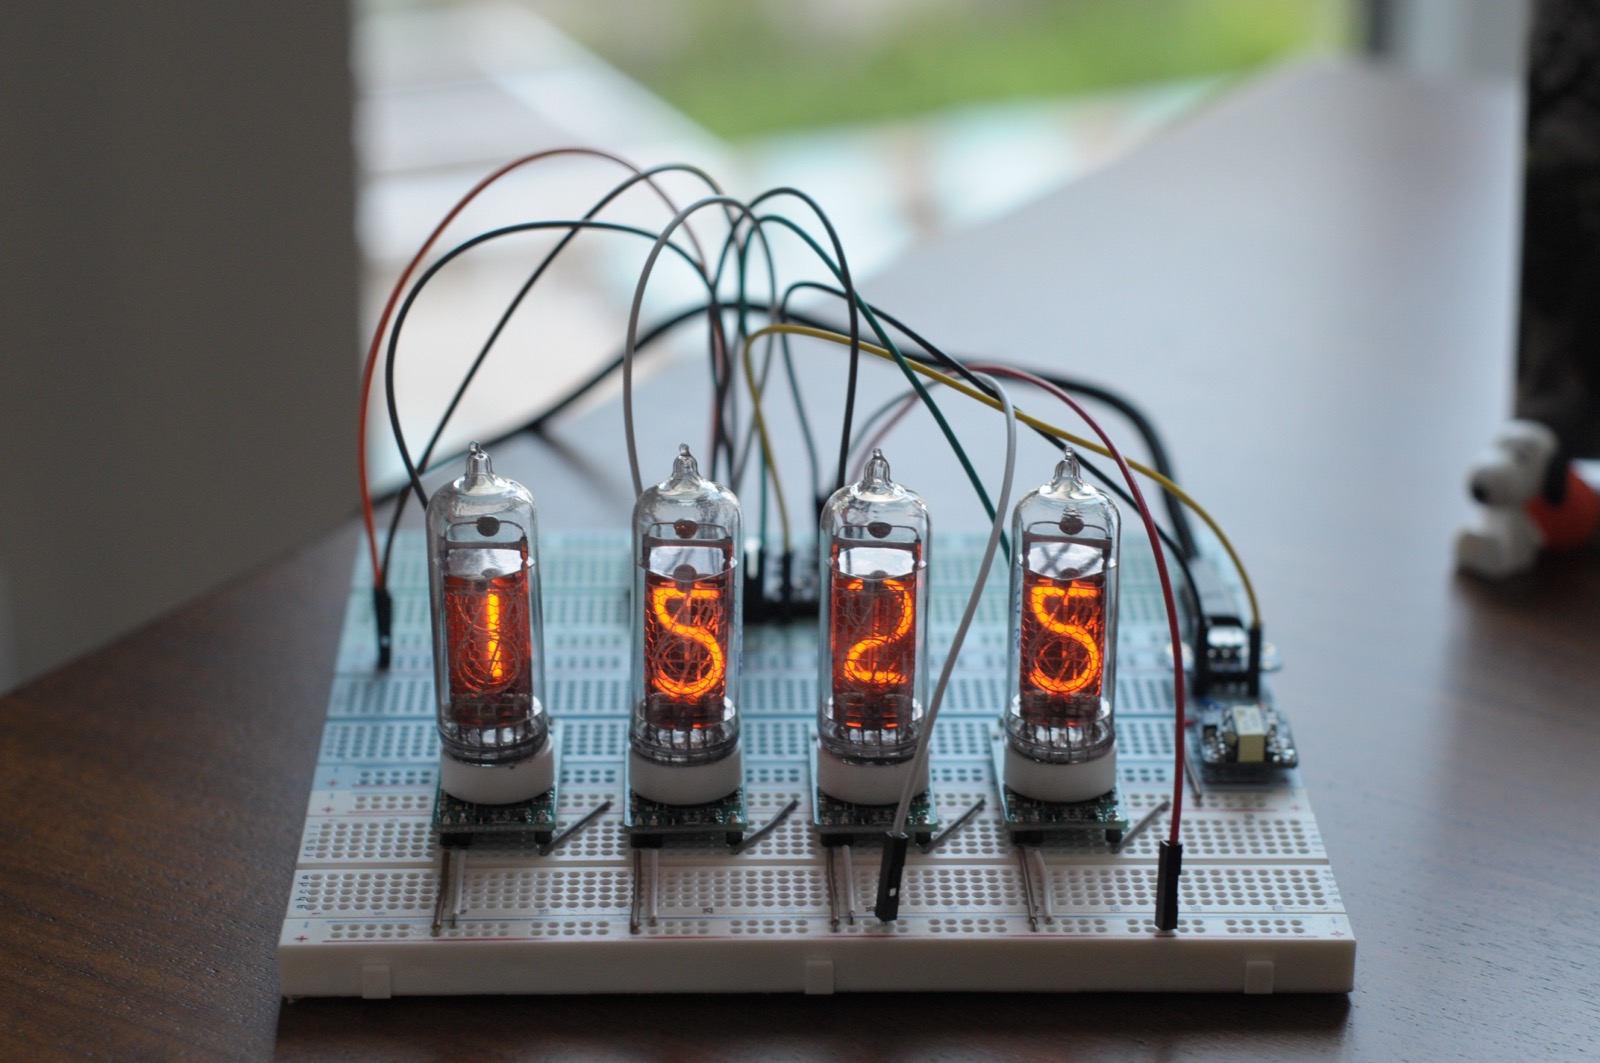
It's good practice to test the Nixie tubes before assembling the boards. This involves connecting up each pin in turn and ensuring the relevant digit lights up correctly:
Having splayed the pins on the tubes for testing, I couldn't resist having a bit of photographic fun:
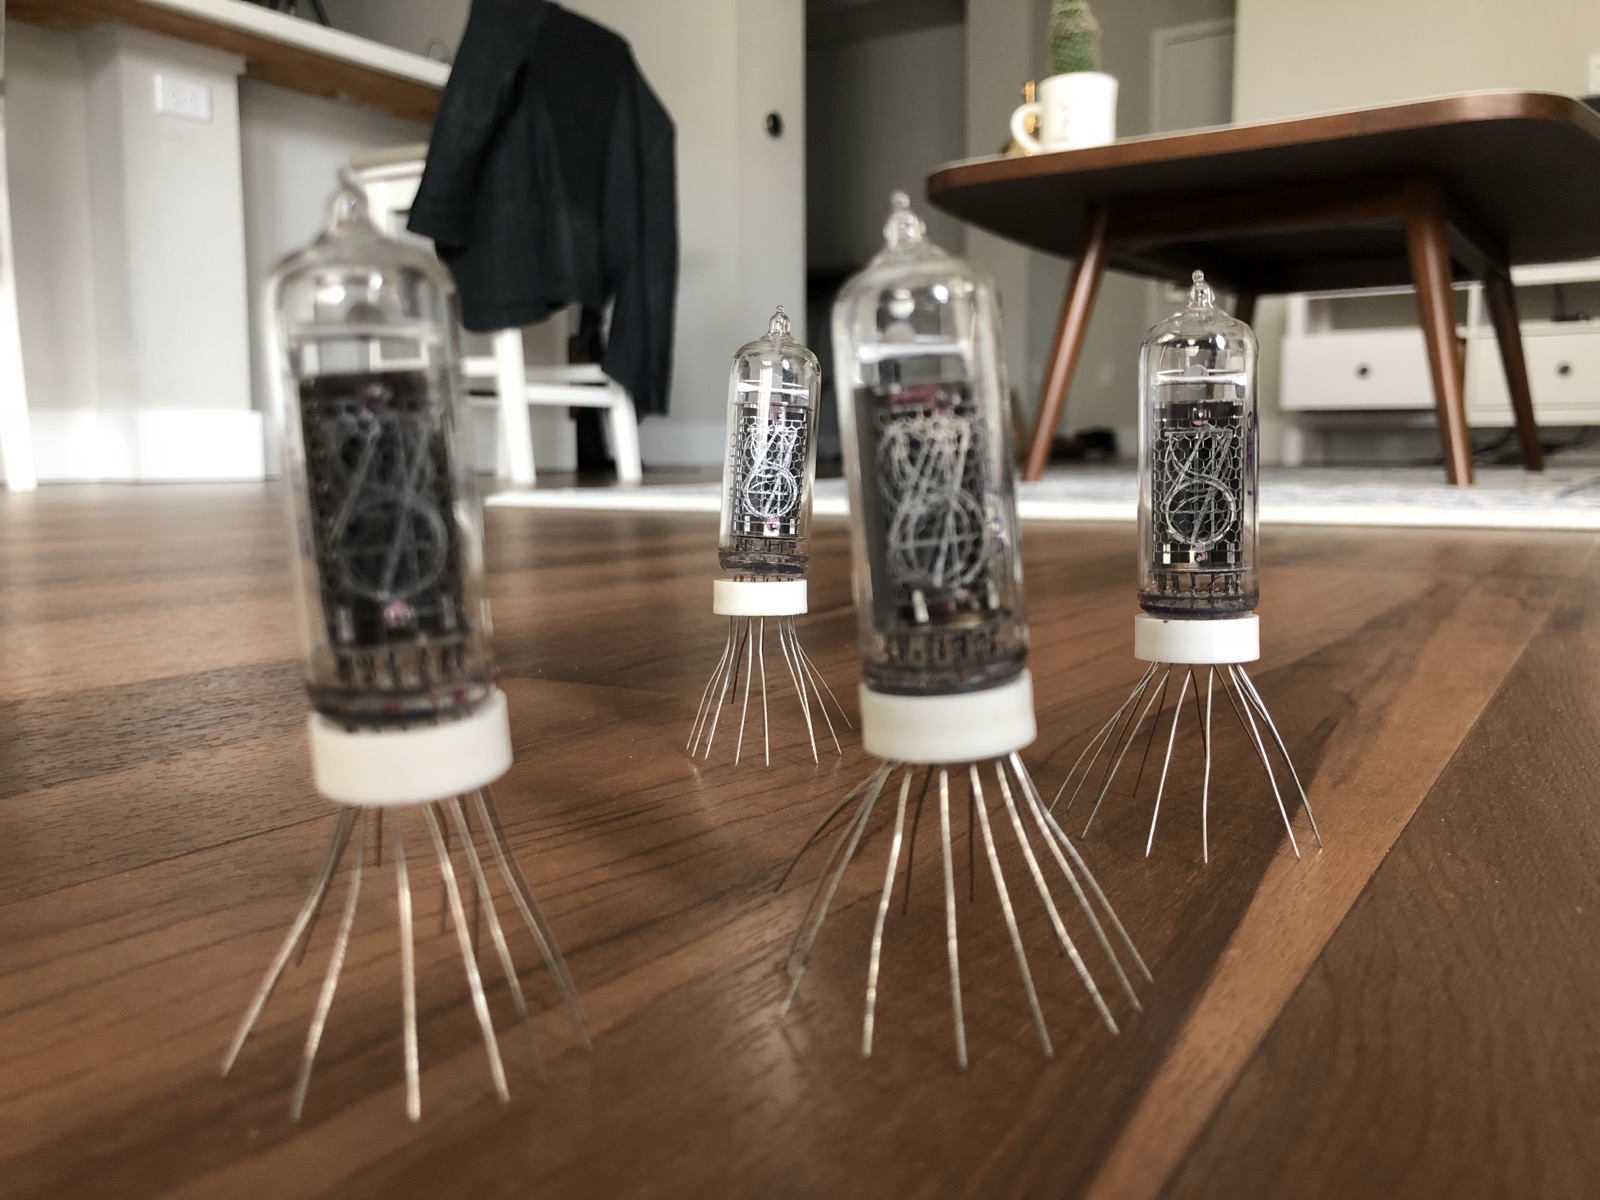
Invasion of the Nixie Tubes
Prototyping with the Raspberry Pi
While I didn't write many notes, I made pretty good progress with my previous Nixie tube controller, building a fully functional single digit solution. This used a Raspberry Pi as a controller, and cycled the four digits of a 24 hour clock on my one lonely Nixie tube:
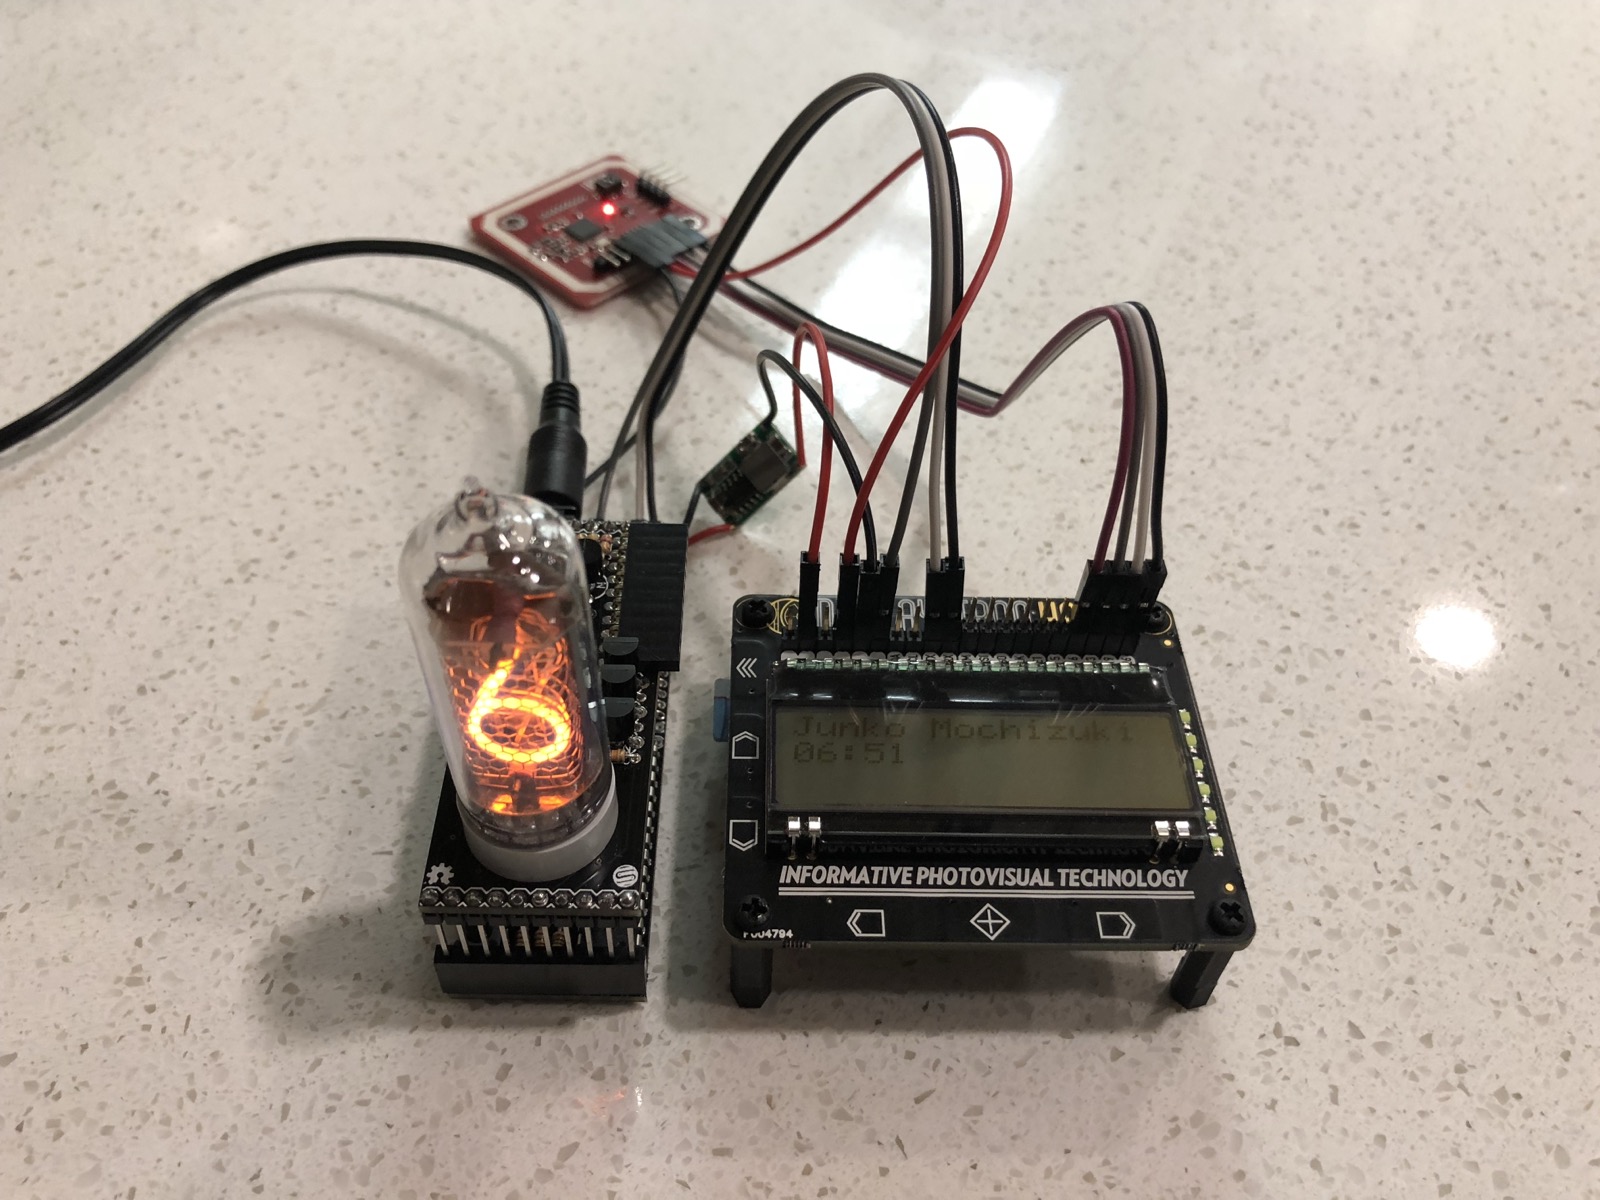
Previous Nixie tube clock
In the picture above, the Raspberry Pi is running a small Python Anytime client to drive the Display-O-Tron HAT and Nixie tube. The Anytime HTTP API serves the time zone for a given contact (e.g., 'Europe/Vienna') and the client implementation is expected to convert this to local time for that contact, accounting for things like daylight saving. The Raspberry Pi client takes advantage of the pytz library (which includes a comprehensive time zone database) to perform this conversion, vastly reducing the complexity of an Anytime implementation.
With only a few small changes I was able to update the client to use the Adafruit Python GPIO library and control my newly assembled Exixe:
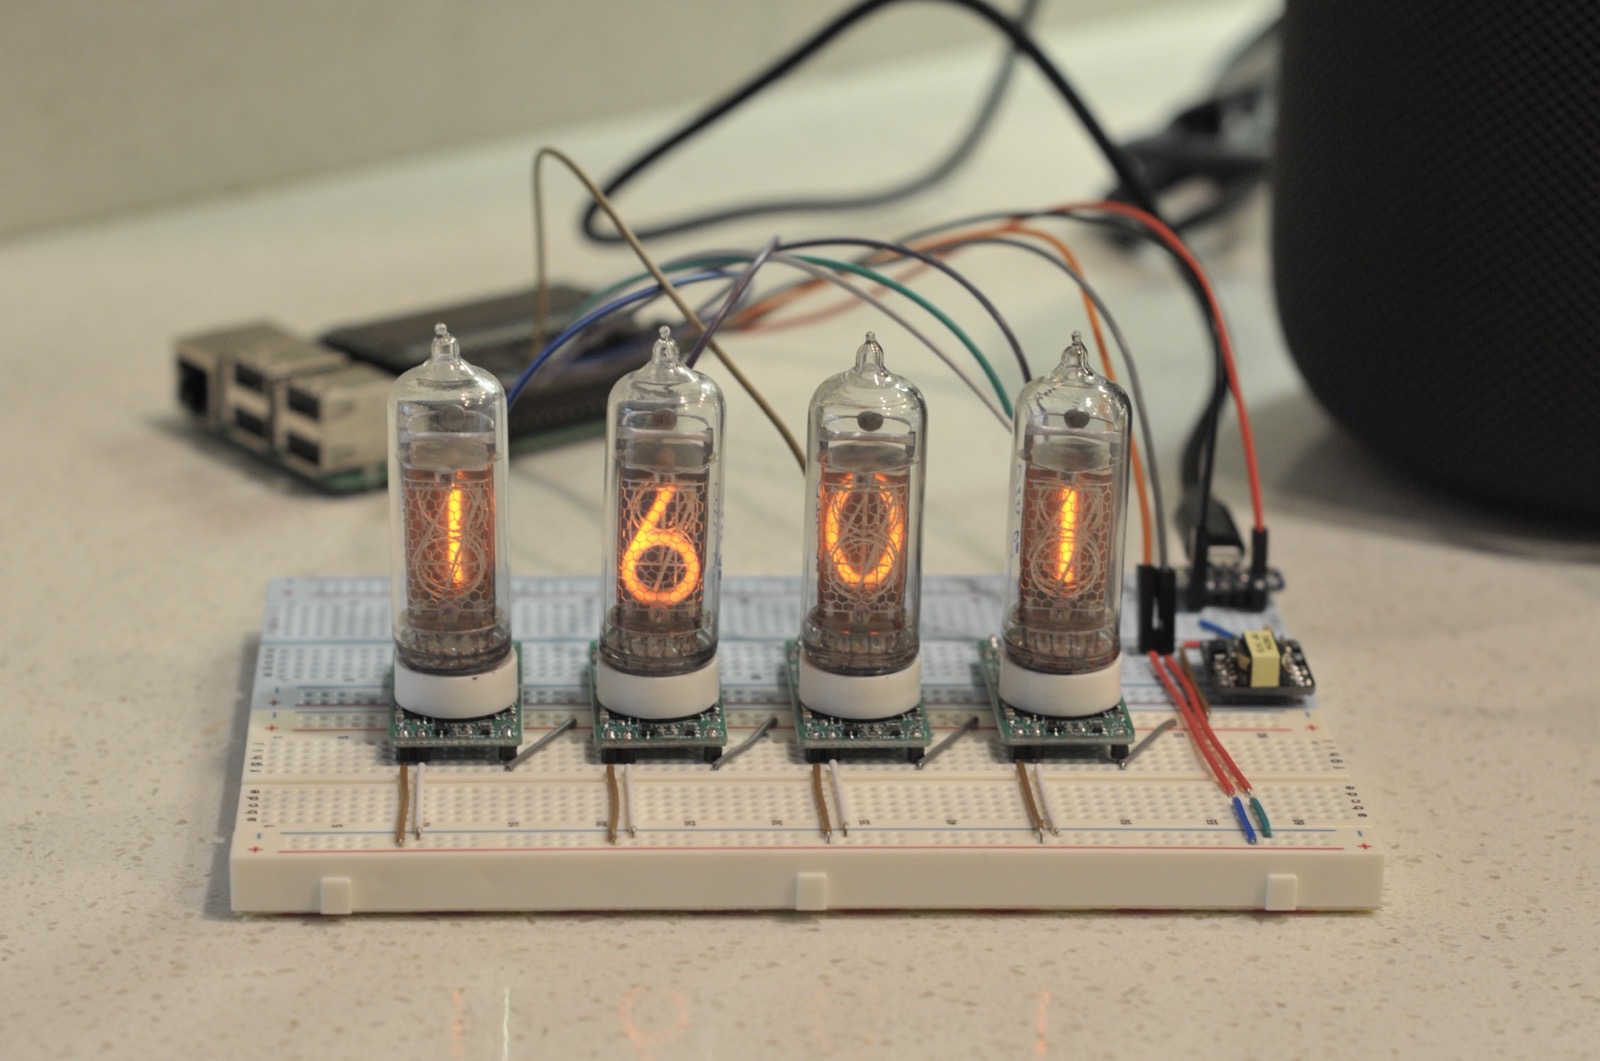
Here, I'm powering both the Nixie tube power supply and the Exixe boards using a USB Micro-B Breakout Board from Adafruit.
Selecting a Microcontroller
Having proven the basic electronics and approach, it was time to switch from the Raspberry Pi to a microcontroller; there's much unneeded complexity in the Raspberry Pi and it tends not to be resilient to power failures (I've destroyed the SD cards of a number of Raspberry Pis in the past and a microcontroller board shouldn't suffer from this).
The ESP32-based boards come highly recommended for embedded WiFi projects, so I picked up a HUZZAH32 from Adafruit:

I had originally planned to run MicroPython on the HUZZAH32 to allow me to take advantage of the Python Anytime client, but it quickly became apparent this wasn't going to work: MicroPython is not so much a fully-featured Python (libraries included), as a basic language port. Only some Python libraries can be used and it's often necessary to rebuild the MicroPython distribution to add those libraries. Worse still, I was unable to get the crucial pytz library into an image.
Instead--on the advice of a colleague--I returned to the Arduino port for the the HUZZAH32. This allowed me to take advantage of the Exixe Arduino library which, coupled with various NTP examples, allowed me to get my clock up and running very quickly.
Integrating with Anytime
Once it became clear that I wasn't going to be able to run the full, comprehensive Python stack I had been depending on, it was necessary to find some more pragmatic approaches to integrating with Anytime. Especially around watching for updates and daylight saving changes.
Hosting the full Olsen database on the HUZZAH32 is troublesome, and updating it, even more so. Instead, I decided to have the clock to establish a persistent connection to the Anytime service and request time zone offset updates for a given contact. The service already manages offsets and contacts, so would simply need to broadcast relevant changes to any listening clocks.
So far, I've created a prototype which runs locally, on my Raspberry Pi. This is good enough for my clock, but I hope to integrate it more completely into the Anytime service in the future.
Designing the PCB
As with previous projects, after proving the circuit on the breadboard, I set about designing my own PCB. This circuit board is a little simpler than the Bluetooth keyboard I've been building: this time, I just want something robust and simple to bring all the parts together.
The clock constitutes a number of components:
- Exixe control boards x 4
- HUZZAH32 x 1
- Nixie power supply x 1
- USB-Micro B breakout board x 1
I also decided to add a power switch to allow me to power down the controller and--more importantly--the 170V of the Nixie power supply.
For each of these, I created my own custom components in EagleCAD, allowing me to easily produce the circuit diagram and lay out the board:
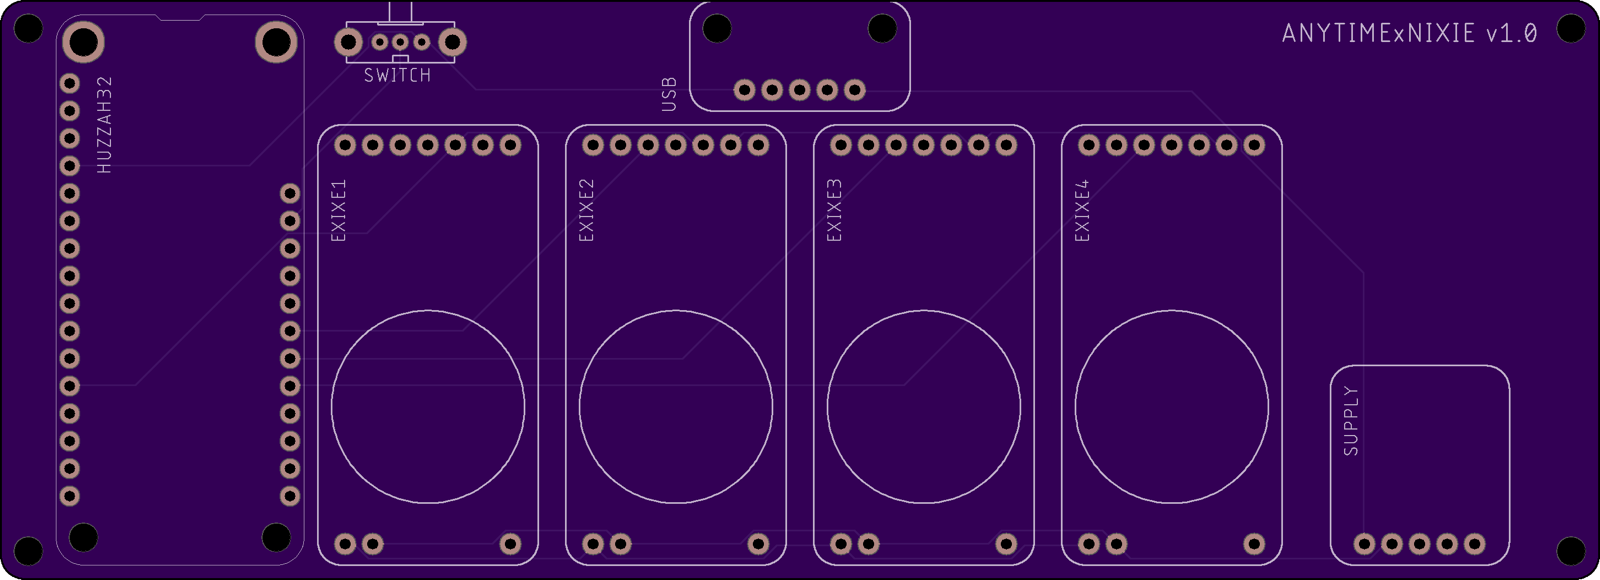
The layout took a number of attempts, and I discovered the incredibly helpful ripup * EagleCAD command which removes all the routes, allowing you to run the auto-router again from scratch.
Assembling the Clock
Upon the arrival of my circuit boards from OSHPark, I fired up the soldering iron, but soon discovered that I shouldn't be allowed to design a PCB when tired: amongst other things, I forgot to connect up the both the 3V and 5V lines, incorrectly connected the HUZZAH32's SPI MOSI Exixe boards' MISO, and managed to wire up the switch so the board never turns on.
This required some creative modifications and bug fixes:
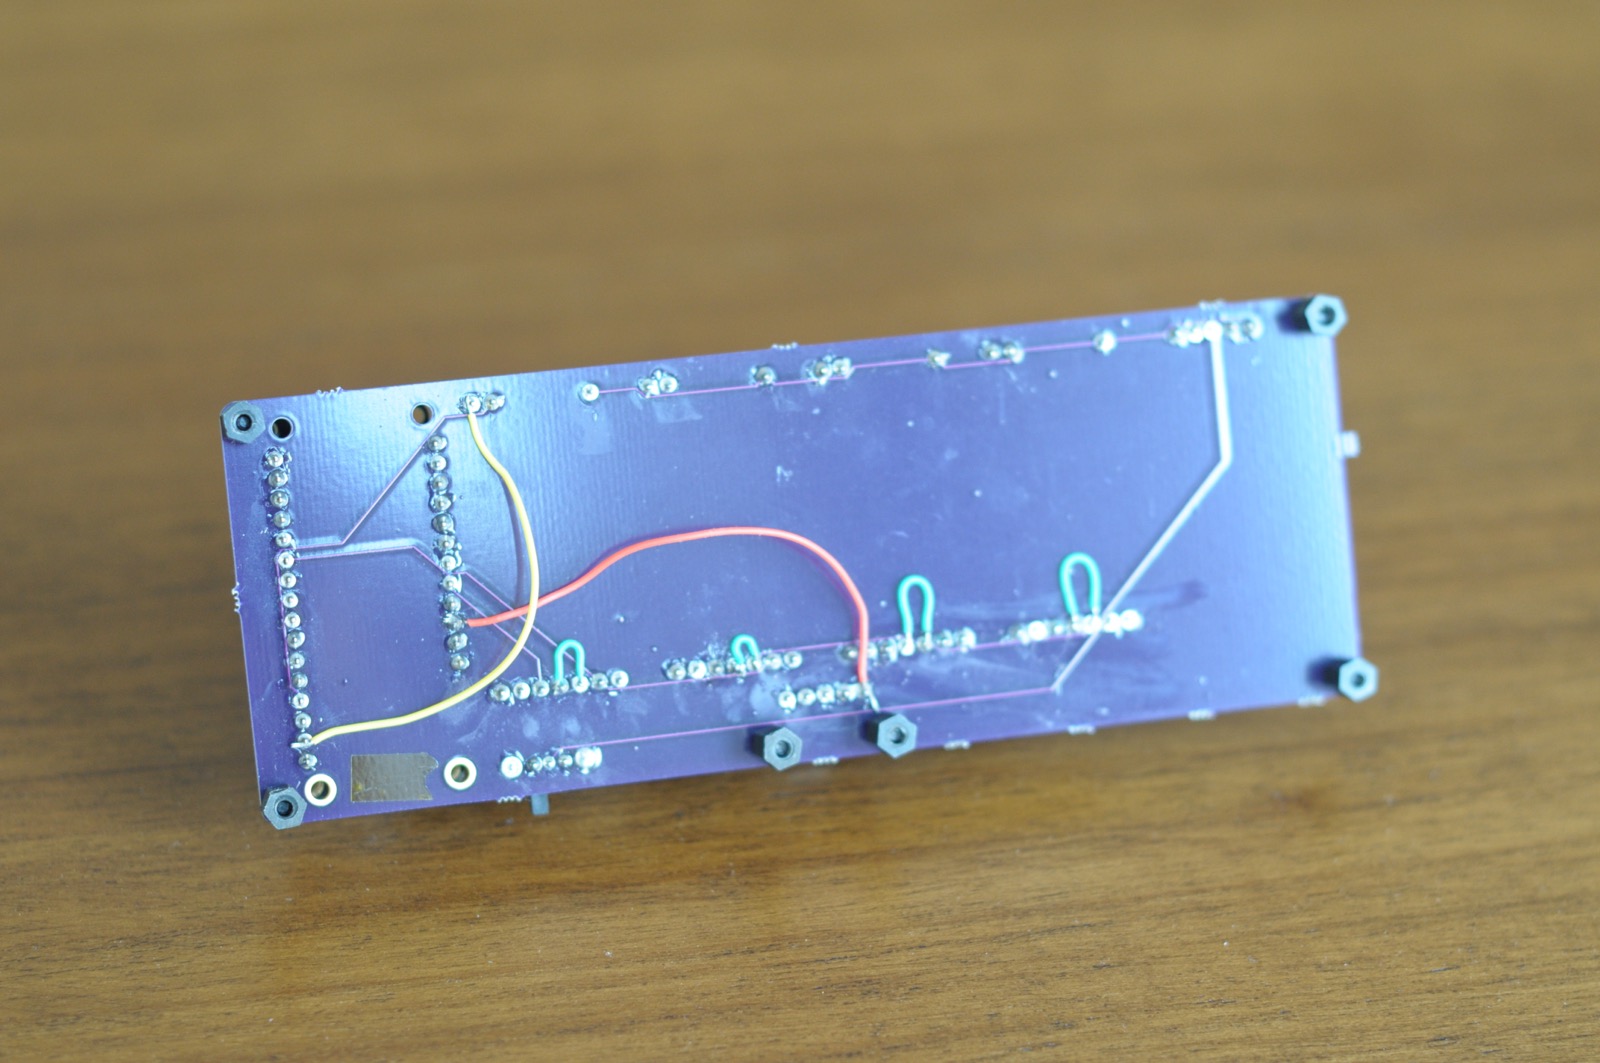
Somewhere along the way, I discovered what it was like to receive a 170V shock, but eventually managed to produce a working clock:
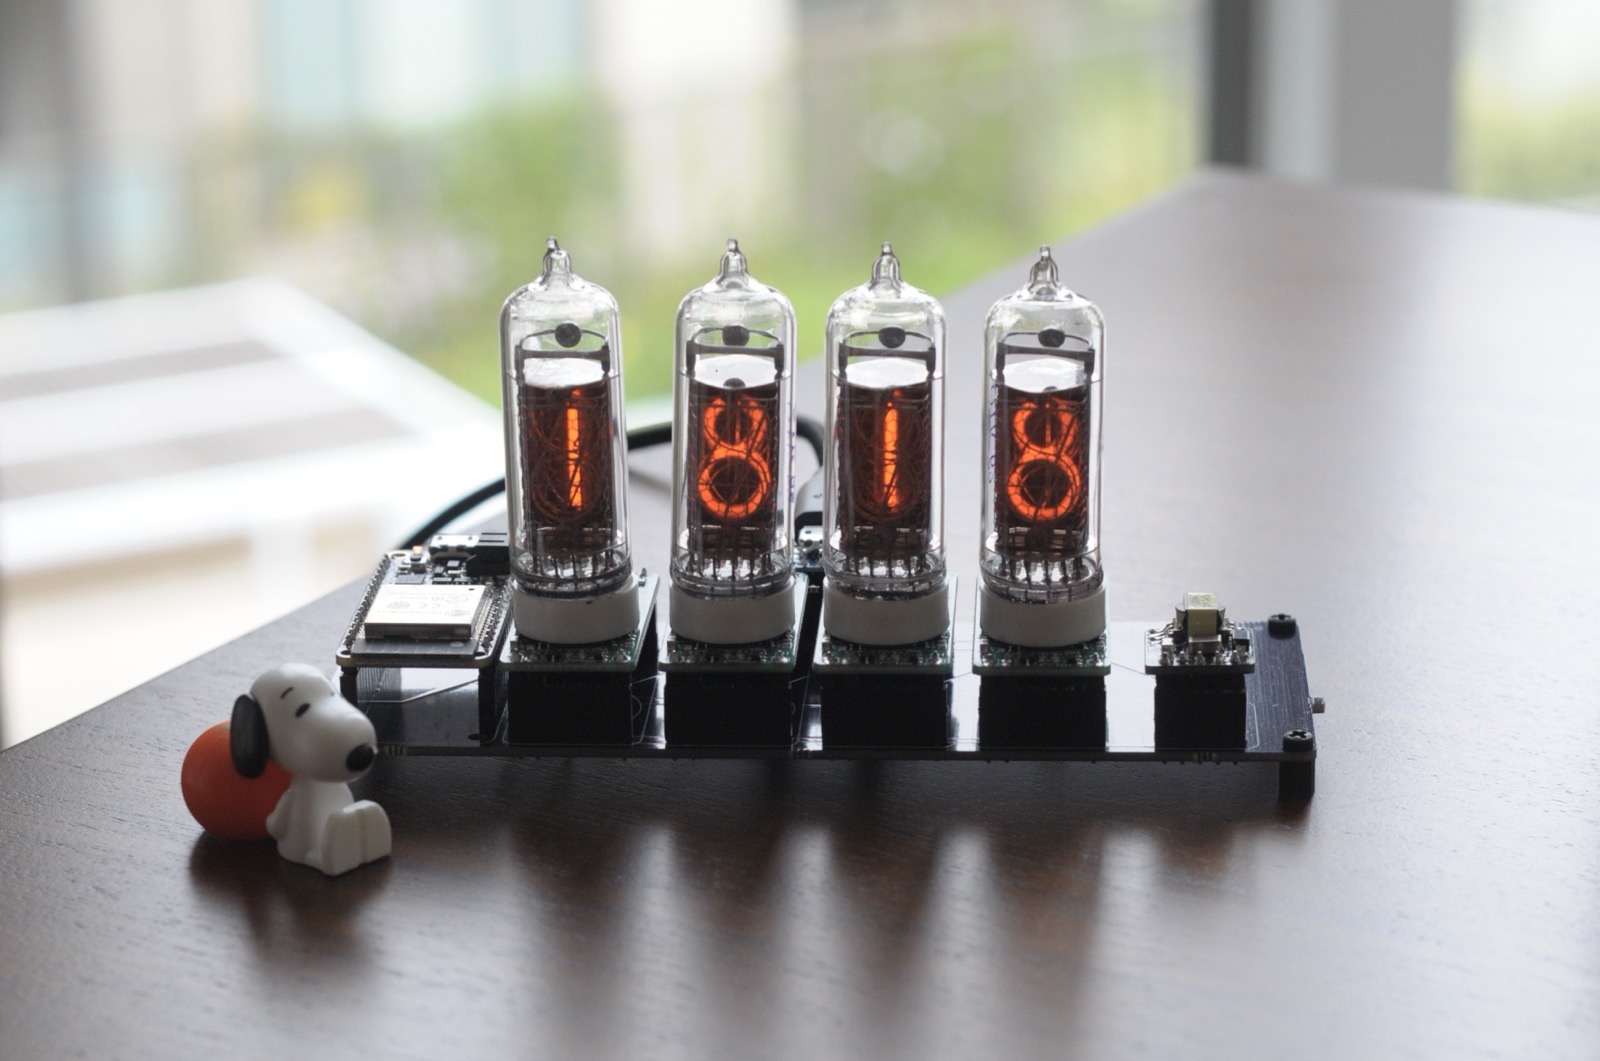
Next Steps
I plan to live with the design for a little while, check that the circuit board (with modifications) works well, and gradually improve the firmware to make initial setup and configuration easier, perhaps with some richer integration with the Anytime web service.
After that, it'll be time to order v1.1 of the PCB (something a little smaller, and lacking the troublesome power switch), and design and build a case. I'm currently leaning towards a machined block of walnut.
I've had the pleasure of bouncing ideas off Michael (most recently of Electric Flapjack) throughout this project and there's one key idea I've yet to incorporate: using NFC tokens representing contacts as a way to change the time. I'm considering making it a separate piece of hardware, allowing me to place the controller and display separately.

